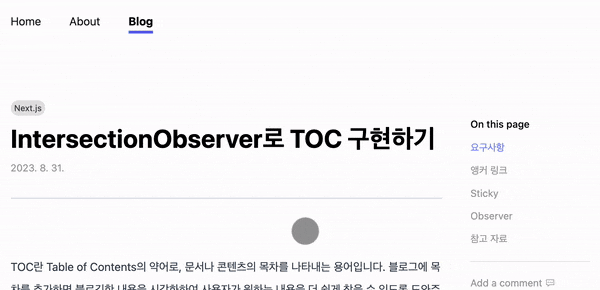
TOC란 Table of Contents의 약어로, 문서나 콘텐츠의 목차를 나타내는 용어입니다. 블로그에 목차를 추가하면 블로깅한 내용을 시각화하여 사용자가 원하는 내용을 더 쉽게 찾을 수 있도록 도와주고, 사용자 경험을 향상할 수 있을 것 같아 IntersectionObserver API를 사용하여 목차를 구현했습니다.
요구사항
- 콘텐츠 내의 헤딩 요소를 기반으로 목록 자동 생성합니다.
- 사용자가 얼마나 스크롤했는지에 관계 없이 뷰포트에 위치합니다.
- 링크를 클릭하면 해당 섹션으로 페이지가 스크롤됩니다.
- 섹션이 뷰포트에 있을 때 관련 링크가 강조됩니다.
앵커 링크
<a> 태그에 href='#id'처럼 설정하여 웹 페이지 내에서 동일한 페이지의 특정 위치로 이동할 수 있도록 합니다. 우선 문자열을 받아와 식별자로 바꿔주는 함수를 만들었습니다. 이 함수를 이용해 헤딩의 내용을 변환해서 id로 할당했습니다.
function createHeadingId(str: string) {
  return str.toLowerCase().replace(/\s+/g, '-');
}
function createHeadingId(str: string) {
  return str.toLowerCase().replace(/\s+/g, '-');
}
function PostContent({ slug, content }: Props) {
  const customRenderers = {
		...
    h2({ ...props }) {
      return (
        <h2 id={createHeadingId(props.children[0])}>
          {props.children}
        </h2>
      );
    },
    h3({ ...props }) {
      return (
        <h3 id={createHeadingId(props.children[0])}>
          {props.children}
        </h3>
      );
    },
  };

  return (
    <ReactMarkdown
      components={customRenderers}
      ...
    >
      {content}
    </ReactMarkdown>
  );
}
그리고 TOC에 앵커 링크를 설정해서 클릭 시 해당 섹션을 찾아갈 수 있도록 했습니다.
<section>
	<ul>
    {headingEls.map((heading, idx) => (
      <li key={idx}>
        <a href={`#${heading.id}`}>
          {heading.textContent}
        </a>
      </li>
    ))}
  </ul>
</section>
<section>
	<ul>
    {headingEls.map((heading, idx) => (
      <li key={idx}>
        <a href={`#${heading.id}`}>
          {heading.textContent}
        </a>
      </li>
    ))}
  </ul>
</section>
Sticky
사용자가 스크롤 하는 동안 뷰포트에 TOC를 유지하기 위해 position: sticky; top: 0;을 추가했습니다. 그리고 TOC 컴포넌트의 부모가 flex 컨테이너라 section의 높이가 늘려져서 position: sticky가 무시됐습니다. 그래서 늘어나지 않도록 하기 위해 align-self: flex-start 를 추가했습니다.
<section className='sticky top-0 self-start'>
	<ul>
		...
	</ul>
</section>
<section className='sticky top-0 self-start'>
	<ul>
		...
	</ul>
</section>
Observer
IntersectionObserver를 생성합니다. 관찰 대상 요소가 뷰포트 내에 진입했을 때 해당 요소의 id로 currentId를 바꿔줍니다. IntersectionObserver는 브라우저 API이므로 컴포넌트가 마운트된 후에 사용해야 합니다. 그래서 useEffect에 코드를 작성했습니다.
observerOption에서 threshold와 rootMargin을 설정하여 교차 여부를 판단하는 기준 비율과 교차 영역을 설정합니다.
const observerOption = {
  threshold: 0,
  rootMargin: '0px 0px -80% 0px',
};

useEffect(() => {
  const observer = new IntersectionObserver((entries) => {
    entries.forEach((entry) => {
      if (entry.isIntersecting) {
        const { id } = entry.target;
        setCurrentId(id);
      }
    });
  }, observerOption);
}, []);
컴포넌트가 마운트 됐을 때 콘텐츠 내 모든 heading 요소에 대한 observer를 등록합니다. 저는 h2, h3만 사용하기 때문에 두 요소에만 observer를 등록했습니다. 그리고 리스트로 사용하기 위해 헤딩 요소는 배열로 만들어 state로 관리했습니다.
useEffect(() => {
  ...

  const headings = Array.from(document.querySelectorAll('h2, h3'));
  setHeadingEls(headings);

  headings.forEach((heading) => {
    observer.observe(heading);
  });

  return () => {
    headings.forEach((heading) => {
      observer.unobserve(heading);
    });
  };
}, []);
그리고 currentId와 요소의 id를 비교하여 일치할 경우 강조할 수 있도록 CSS를 지정했습니다.
<a
  href={`#${heading.id}`}
  className={${
    currentId === heading.id
      ? 'text-indigo-400'
      : 'text-neutral-400'
  }`}
>
  {heading.textContent}
</a>
<a
  href={`#${heading.id}`}
  className={${
    currentId === heading.id
      ? 'text-indigo-400'
      : 'text-neutral-400'
  }`}
>
  {heading.textContent}
</a>
✨완성✨
참고 자료