Next.js 13 앱 Github Pages에 배포하기
프로젝트를 Github Pages에 배포하는 것은 할 때마다 새로운 것 같습니다.🥲 최근 Next.js App router 기반의 블로그를 Github Pages에 배포하기 위해 많은 글을 찾아봤는데, Next.js의 이전 버전 글들이 많아 배포 과정에서 애를 먹었습니다. (예를 들어 Next.js v13.3.0 이후 next export는 더 이상 사용되지 않으며, output: 'export'로 대체됐습니다.)
우여곡절 끝에 배포에 성공해서 제가 참고한 글들을 정리해 공유하고자 합니다.
레포지토리 생성
public으로 설정된 레포지토리를 생성합니다.- 레포지토리 이름을
username.github.io형태로 설정해야 기본 도메인에 반영됩니다. - 다른 형태의 레포지토리 이름은
username.github.io/<repository>처럼 하위 도메인에 반영됩니다.
Next.js 설정하기
먼저 static exports를 지원하도록 Next.js를 설정해야 합니다.
-
next.config.js파일에 다음과 같이 작성합니다.basePath에는 레포지토리 URL이 들어갑니다. 제 경우 도메인이
https://hxezin.github.io이기 때문에 basePath를 빈문자열로 뒀지만, 프로덕션 도메인이https://hxezin.github.io/nextjs-blog일 경우 '/nextjs-blog'를 작성해야 합니다.static exports에서는 동적 기능이 작동하지 않으므로 이미지 최적화를 비활성화합니다. 그러나 공식 문서를 찾아보니 custom image loader를 사용하면 이미지 최적화를 적용할 수 있다고 해서 다음에 적용해 볼 예정입니다.
-
/public디렉토리에.nojekyll파일을 생성하여 Github Pages가 Jekyll 웹사이트를 만들지 못하도록 합니다. -
next/image컴포넌트를 사용 중일 때,src앞에basePath를 추가해야 합니다. 예를 들어,basePath를/nextjs-blog로 설정한 경우,src도/nextjs-blog/profile.png가 되어야 이미지가 올바르게 제공됩니다.
Github 설정하기
다음으로 Github Actions을 이용하여 배포 자동화를 하기 위해 Github를 설정합니다.
-
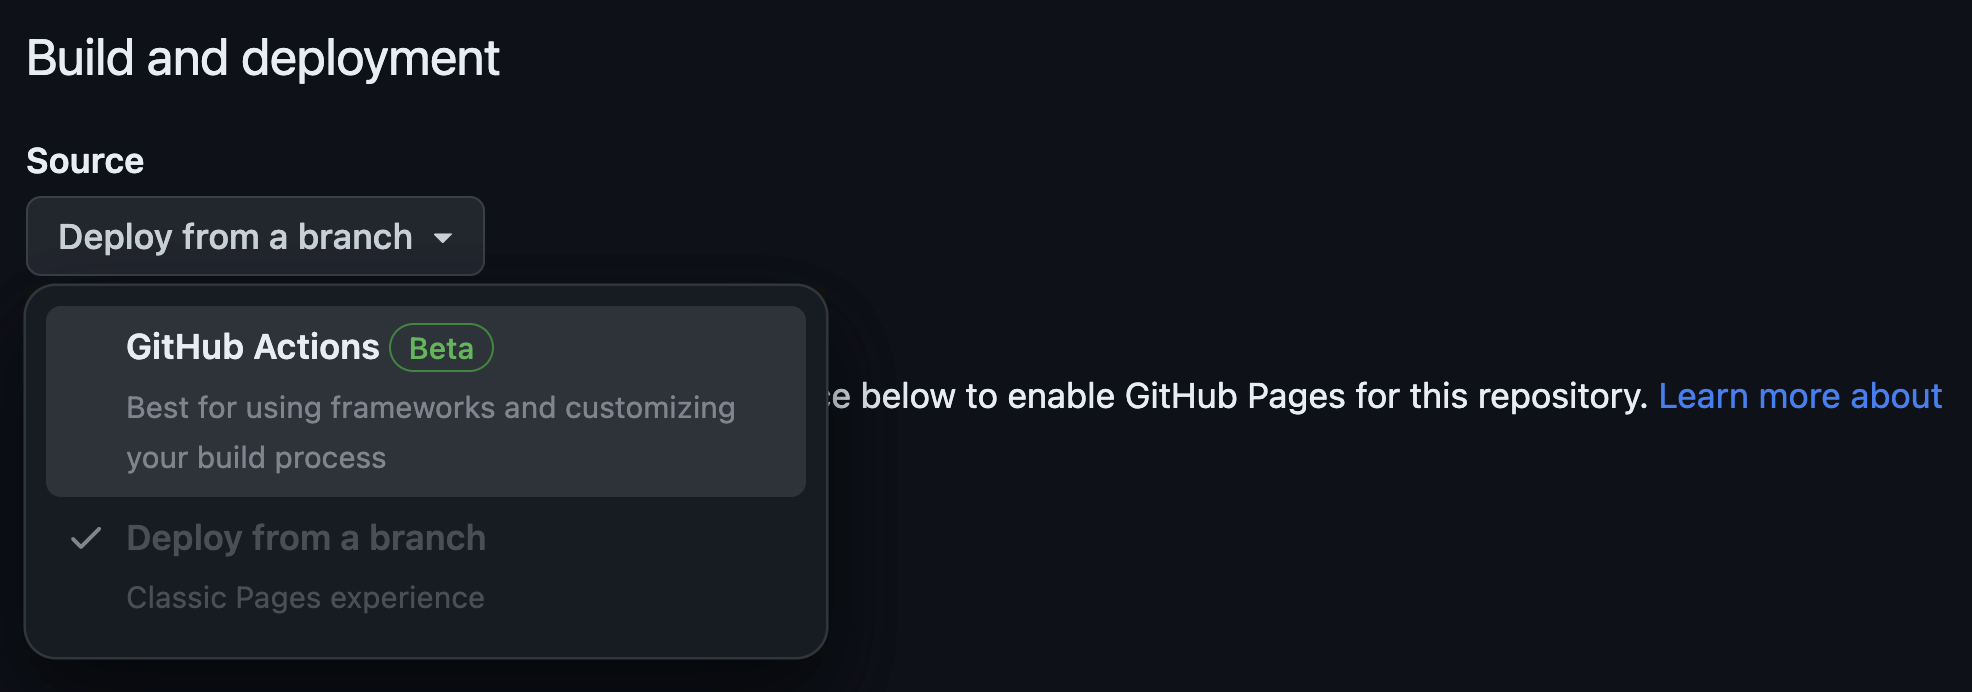
해당 레포지토리에서 Settings > Pages로 이동합니다.
-
Build and Deployment에서 Github Actions을 선택합니다.
-
Next.js By Github Actions가 나오면 하단의Configure를 클릭합니다.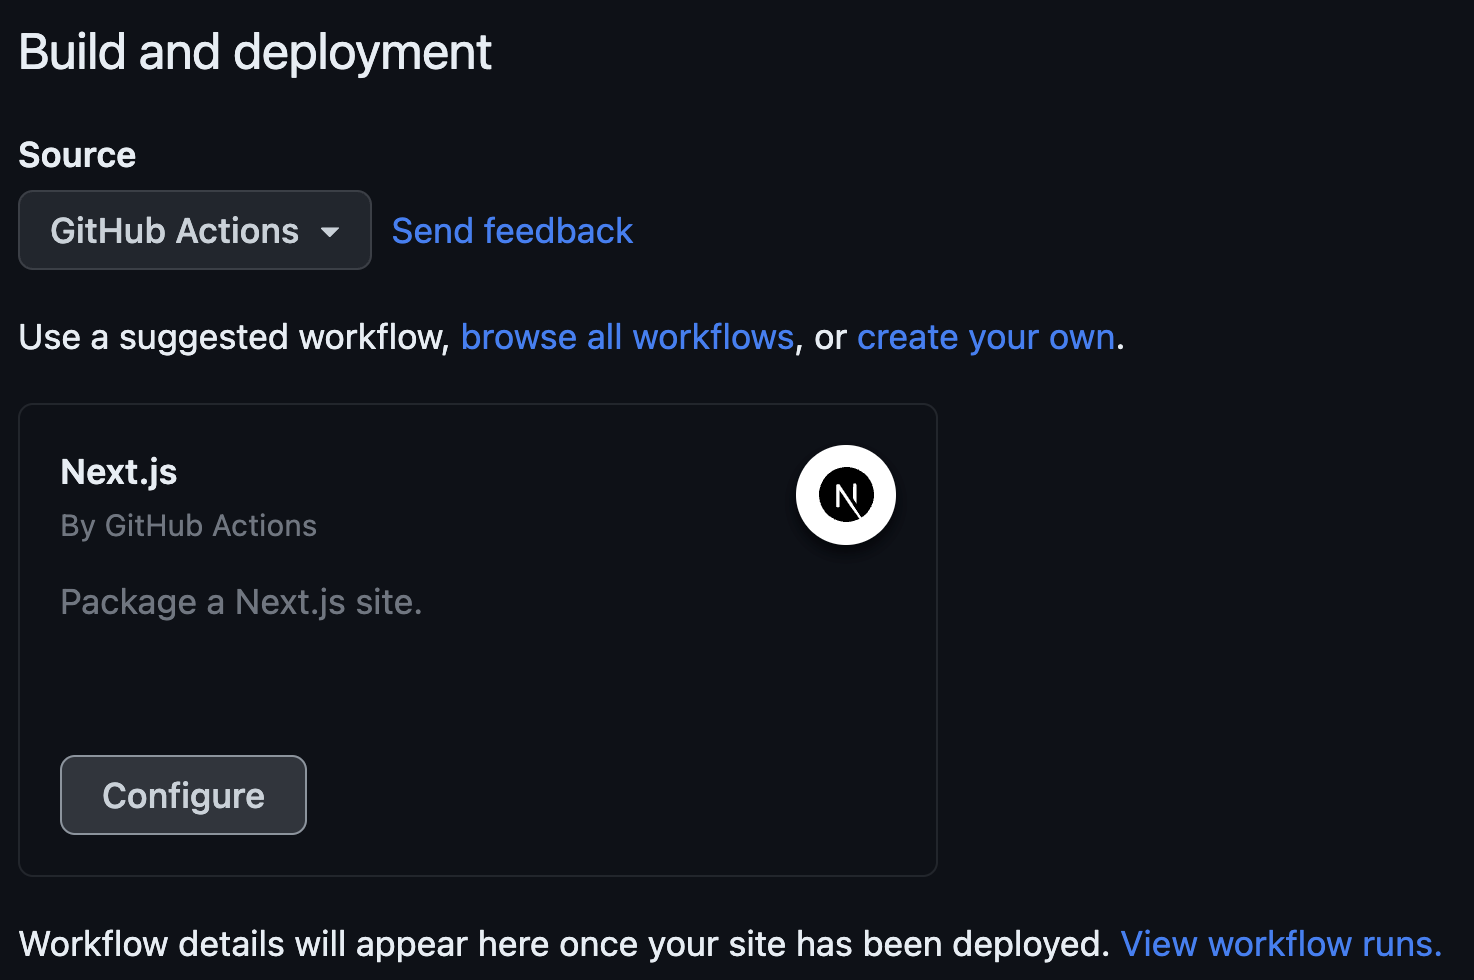
-
그럼
.github/workflows/next.js파일이 생성됩니다. 필요한 경우 수정해 줍니다.
이제 코드를 Github에 푸시하면 Github Action workflow가 트리거되고, 앱이 Github Pages에 배포된 것을 확인할 수 있습니다.